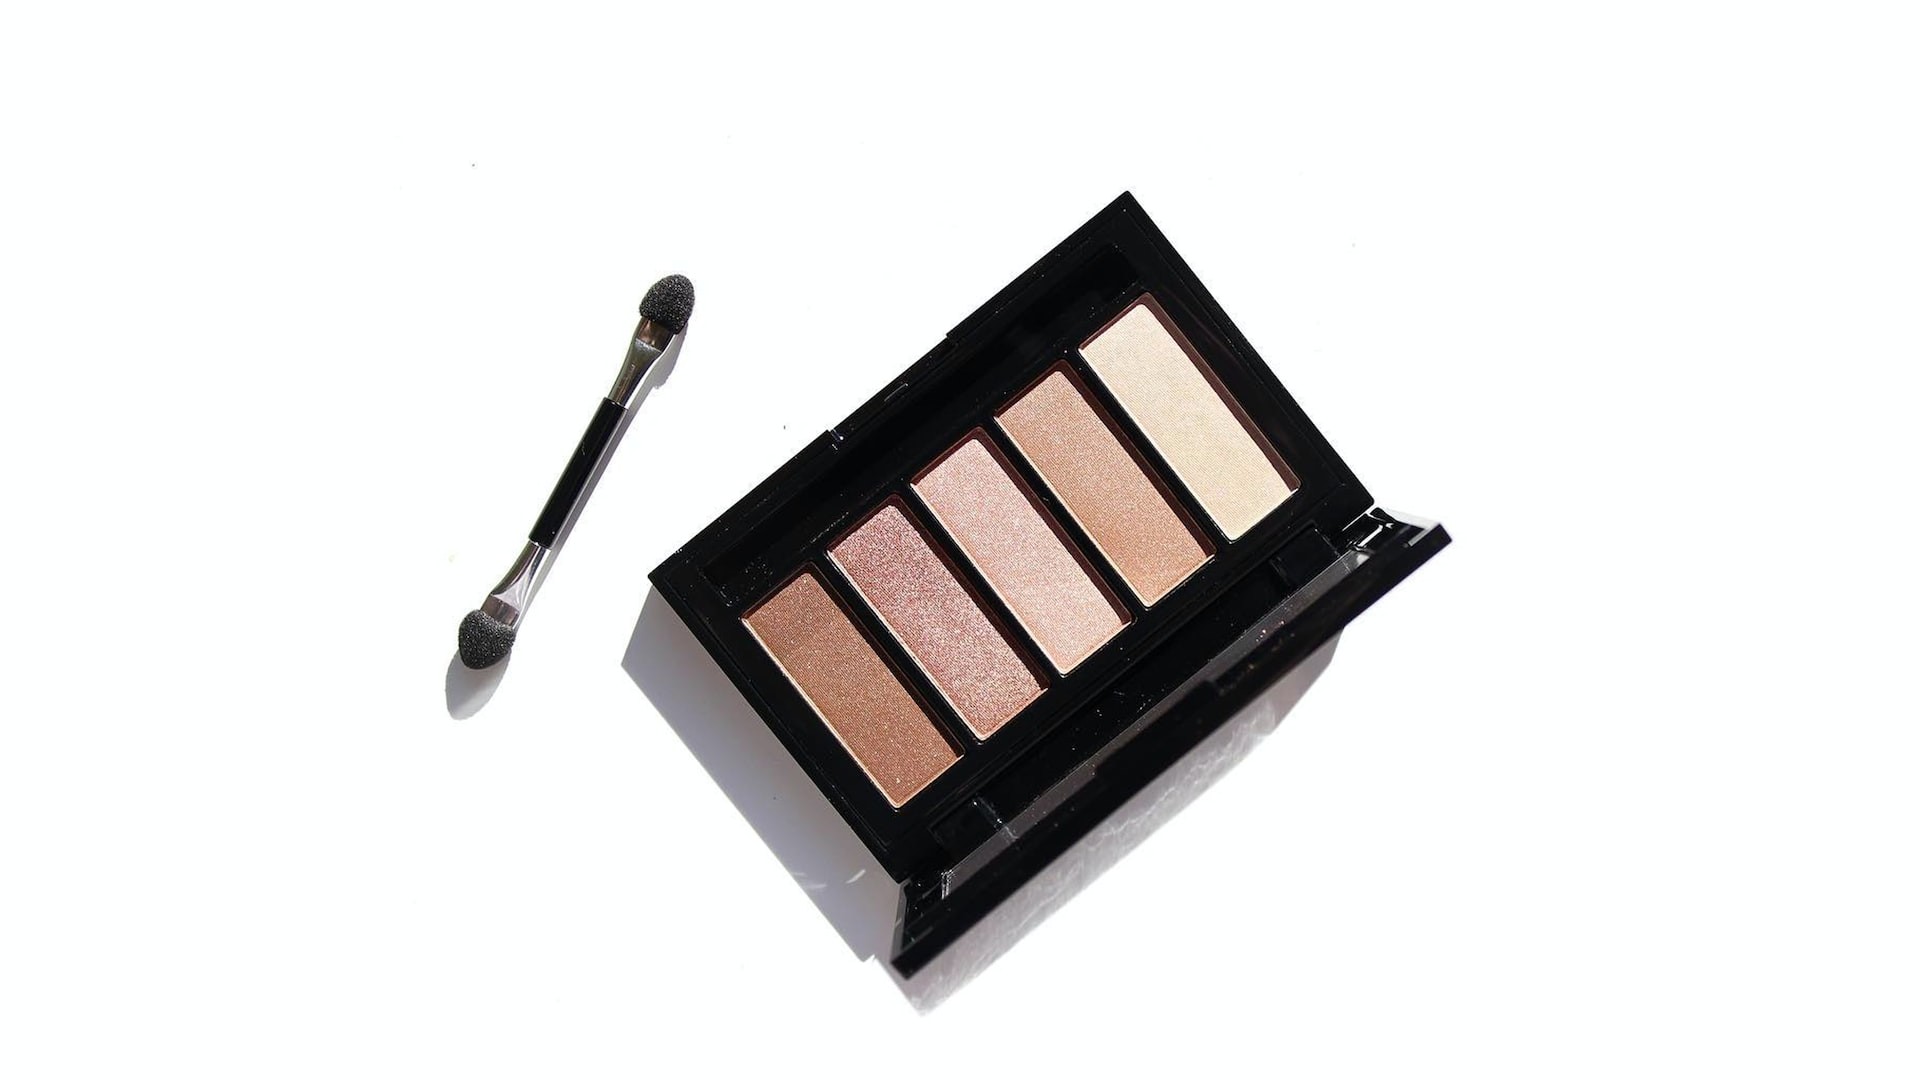
How To Keep Eyeshadow From Creasing
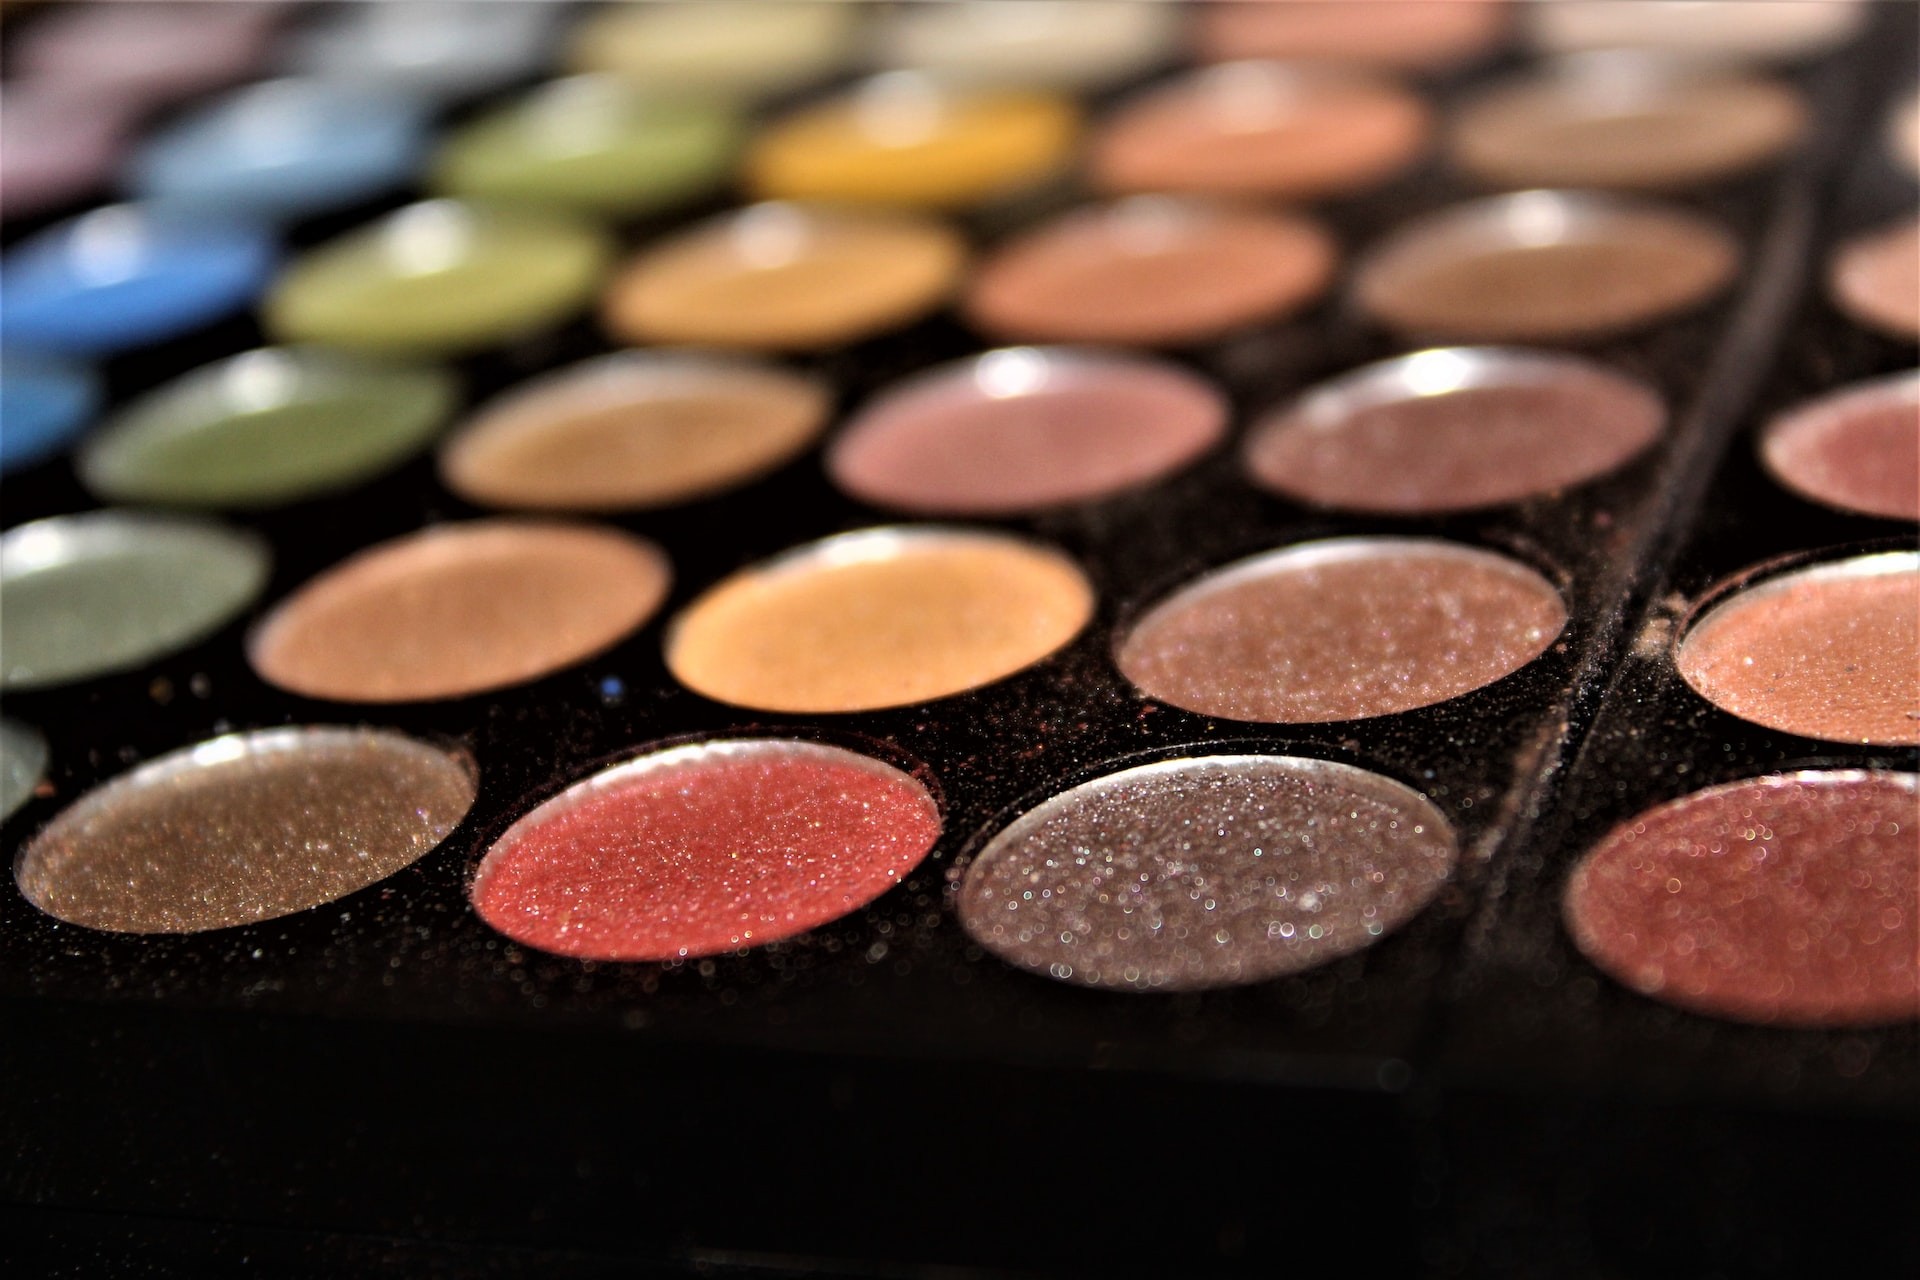
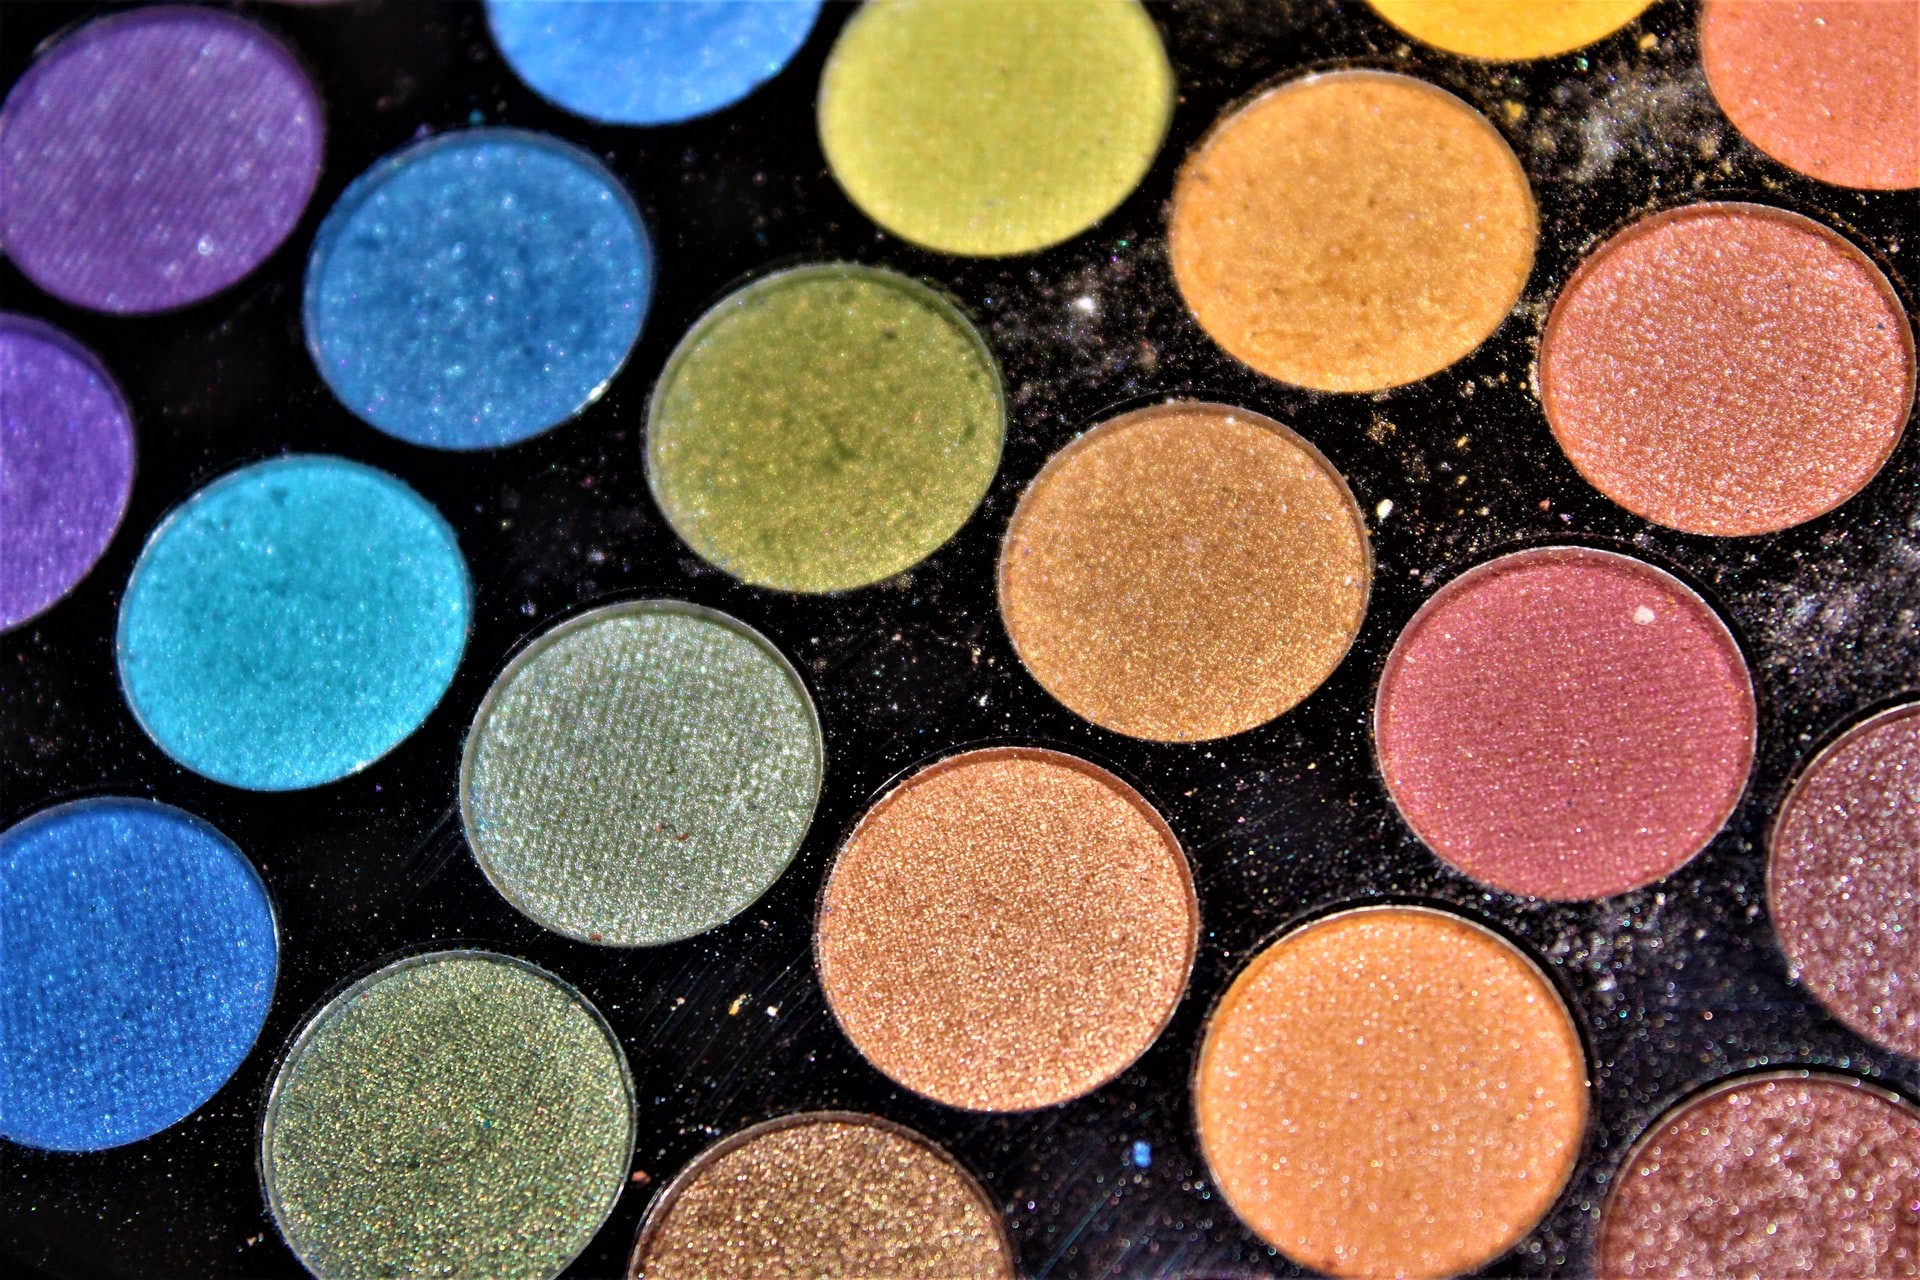
How to apply your eyeshadow like a pro
Formulate user Emma wants to know how she can up her eyeshadow game:
My eyeshadow never stays put. It always creases, always always always. This happens anytime I wear a shadow for longer than like two hours, I get creases that ruin the look i spent so long creating. And my eyeshadow always seems to migrate down my face, I get so much fallout. Like I can't get it on my eyelids without it somehow end up under my eyes as well. It's really limited me in the colors I can wear, since I end up looking all weird if I do any unnatural or dark colors, like I'm having an allergic reaction or have a black eye. Maybe I'm just not destined to wear eyeshadow, but I want to so much! I LOVE how it looks on others, and how it looks on me right after I apply it. How do I get it to stop creasing? And how can I stop the fallout?
Thanks for writing, Emma! To answer your questions, we spoke with eyeshadow experts Margina Dennis, who has been a makeup artist for over 15 years, Fiona Taylor, the owner and lead artist of Faces by Fiona, and Kristen Mesecher, licensed cosmotologist and manager of Beauty School Near You. We've included their top tips below!
How To Keep Eyeshadow From Creasing
Use a primer
Kristen: Choose an eyeshadow primer that will help to create a smooth base for your shadow. Not all eyeshadows contain creasing-resistant ingredients, so it's important to start with a good primer. But remember that while a tacky primer can help, it is not the 'end all be all'. Just because you wear primer, doesn't mean your makeup will magically stay.
Prevent fallout/creasing with a setting powder
Fiona: The key to keeping eyeshadow from creasing is by first using an eyeshadow primer and then going a step further by applying a colorless setting powder on top of the primer. This will create more crease prevention as well as assist in a smoother blend-out that eliminates patchiness.
Margina: Setting powder is going to be your best bet for preventing eyeshadow from creasing throughout the day. I like to put a little setting powder on an eyeshadow brush and apply it to my lids after applying powder to my entire face. Fallout is best prevented by using quality products that won't flake. But it can also be prevented by applying primer and setting powder before eyeshadow.
Apply with a damp brush
Fiona: A tip for preventing fallout from textured or shimmery eyeshadow is to spray a flat eyeshadow brush before dipping into the application. Applying the eyeshadow slightly damp allows it to stick to the eyelid. Another benefit is it increases vividness!
Kristen: To prevent fallout from dark eyeshadows, use a dampened brush to pick up the shadow and press it onto the lid. Finish by lightly dusting away any excess shadow with a clean brush.
Start clean
Kristen: Make sure your eyelids are clean and free of any oils before applying shadow. Also, keep makeup application brushes clean every day. To avoid any debris or unbalanced applications, only use clean makeup brushes to apply makeup to avoid any debris and unbalanced applications.
Build up gradually instead of all at once
Kristen: When applying your eyeshadow, use a light hand and build up the color gradually instead of packing on a lot of product at once. Tap off excess shadow from your brush before applying it to your lid to avoid overloading your eyelids with shadow. This will help to avoid any harsh lines or patches of shadow and will also help to avoid any unwanted fallout during the day.
Do your eye makeup first
Kristen: Start with your eye makeup before moving on to your face makeup. This will help to keep any fallout from ruining your perfectly applied foundation and concealer.
Use concealer to make your eyeshadow "stick"
Margina: To make eyeshadow last longer on the lid, I like to wipe the lid with toner to remove any makeup remover residue and then lightly powder with translucent powder to absorb any moisture. Then I apply a thin layer of concealer to the lid and then use a stiff brush to press the eye shadow onto the lid so that it adheres.
Clean up fallout with a fan brush or cotton swab...
Kristen: A fan brush is an excellent tool for removing fallout after application. Simply sweep the brush over your face to catch any loose shadow or powder. You can also use a cotton swab dipped in makeup remover to clean up any fallout around the eyes.
...Or go all out with an eyeshadow shield
Kristen: You can also use eyeshadow shields to help prevent fallout during application. Place the shield under your eye before applying shadow, then simply peel it away once you're done. This will help to catch any fallout and prevent it from falling onto your cheeks or into your concealer.
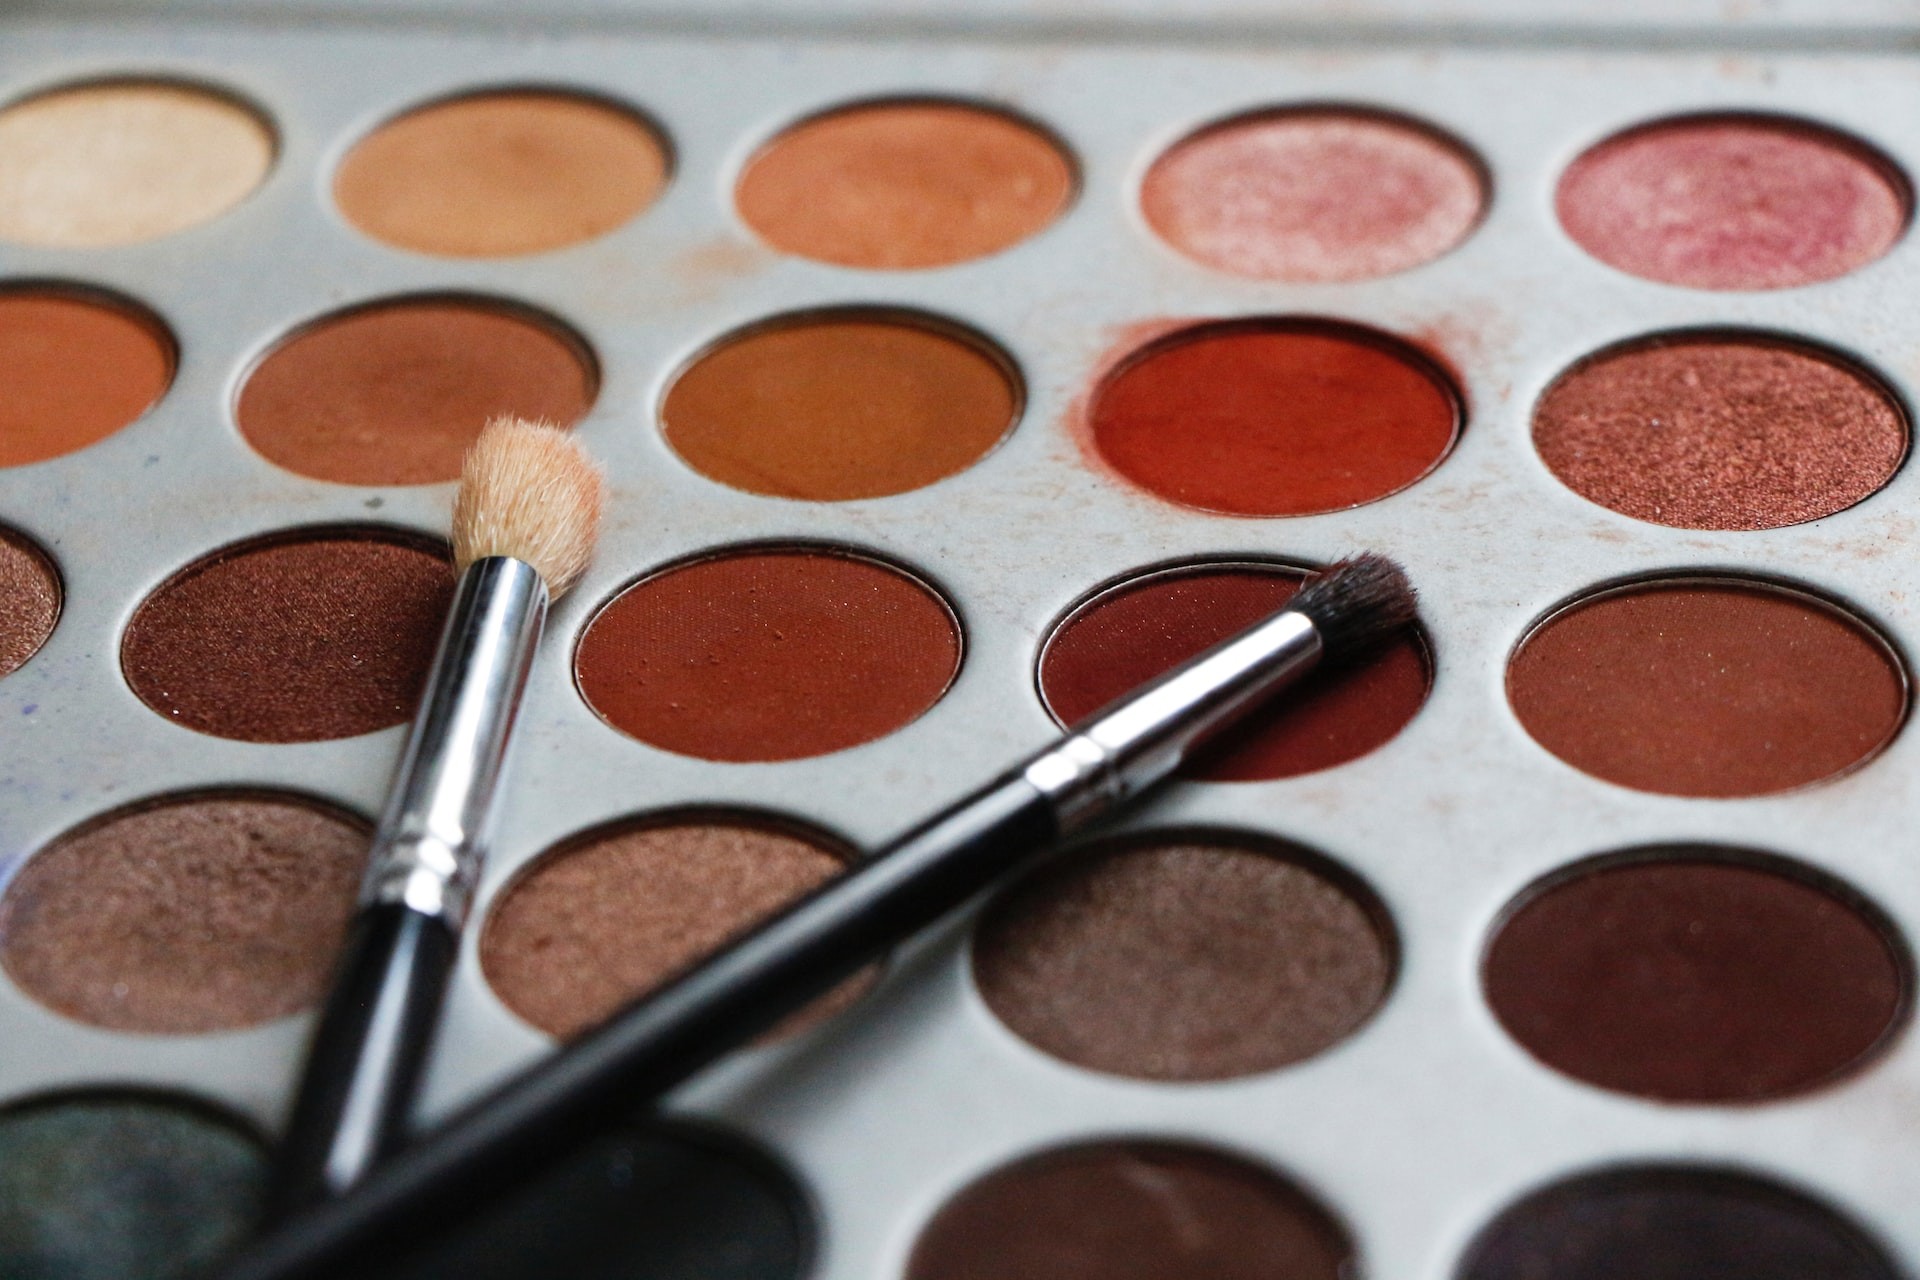
Experiment with stick and liquid eyeshadow
Margina: I love to use long-wear eyeshadow sticks because they are quick and don't move! They are so easy to apply with a brush or the stick itself and blend with your fingers or a brush. Kiko Milano, Mally Beauty, and Laura Mercier are some of my favorites. Liquid eyeshadow is also great and I enjoy using the Smashbox Always On Cream Shadow and Armani Beauty Eye Tint.
Keep a little bit of shadow on hand so you can touch it up on the go
Fiona: It's difficult to keep makeup on all day when the wind is blowing hard, during precipitation, and through other extreme weather conditions. Keep this in mind when going to work or going out, and resort to a small case of reapplication and touch-up makeup.
Wanna learn more about the world of skin and hair care? Here's your next read:
How to defrizz your curls and get 'em back into shape!
What's the difference between hot rollers and curling irons?
Difference Between a Mole and a Freckle
What's the difference between a mole and a freckle?
Moisturizer vs Lotion: What's the difference?
Can you use body lotion on your face?
Tips For Washing Hair In Hard Water
This is your guide to washing your hair in hard water
Welcome to the wonderful world of minimalist hair
Type of Combs: Materials and Shapes
Your complete guide to picking out a comb